 Making Patches Making Patches
 So I've been making my own patches for my jacket, pants, bra, etc for years now and it's alot of fun and easy to do. They don't require a ton of bespoke materials and the ones you need can be gotten pretty cheap. This guide will show you how to make the patch and also how I sew it onto my clothes.
DISCLAIMER: The clothes I've been adding patches to have been either canvas or denim. If you want to add these to leather you will need larger needles and thread than I use in this guide. Besides that this guide should still be applicable if you do decide to work with leather.
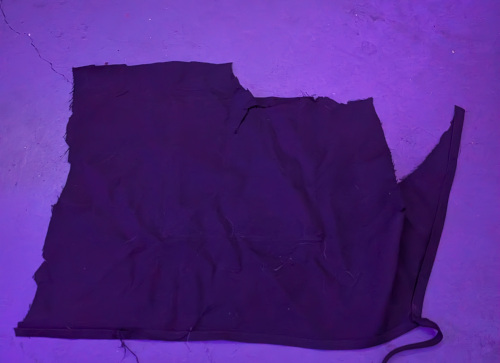
You don't really need to get new material for patches. Using clothes that no longer fit or thrifting is an excellent way to get material. Personally I had alot of black cloth and aprons from my old waitress job and that works really well. They're Polyester and it's a great material for this but if you don't have that denim or canvas work just as well.

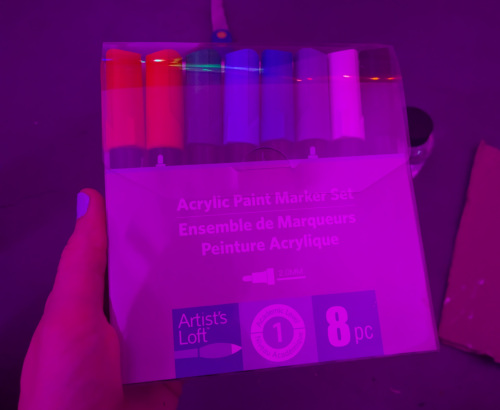
Besides the Fabric you will need:
Also Recommended:
Once you have an idea for your patch and the materials you can get ready to paint it :)
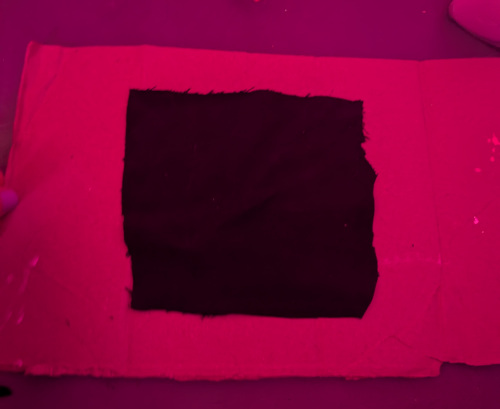
Start by taking your fabric and cutting out a piece to be made into a patch.
If you're unsure what size you want you might want to measure it and however much room you have on the clothes you're planning on sewing this patch to.
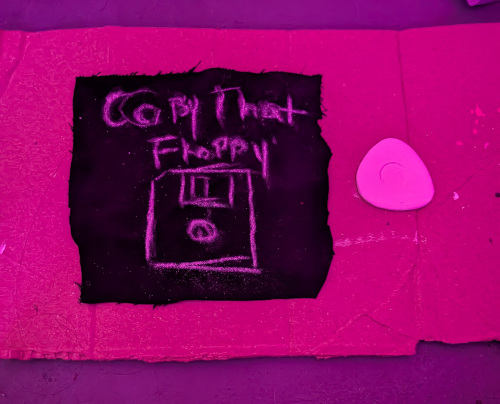
You might also want to make your rough sketch in chalk before you cut out your patch so you can visualize the size.
If you didn't make your rough sketch in chalk before cutting your piece of fabric out then do it now.
If you make a mistake in the chalk you can use a wet cloth to remove it. Be sure to let it dry before you begin painting.
Now is the time to actually start painting! :)
Use a fine detail brush (idk if brush sizes are standardized but the one I used was a 4 and it might've been a bit too big) and start painting over your rough sketch.
The best advice I have for text is to keep your hand steady and very lightly brush them on. Start from wherever you're comfortable with writing so your hand doesn't accidentally rest in fresh paint, for me it's left to right, top to bottom.
Once you've finished going over it once wait for it to dry, if you want you can speed this up with a hair dryer but make sure you have a way to secure each side so it doesn't blow around and smear paint.
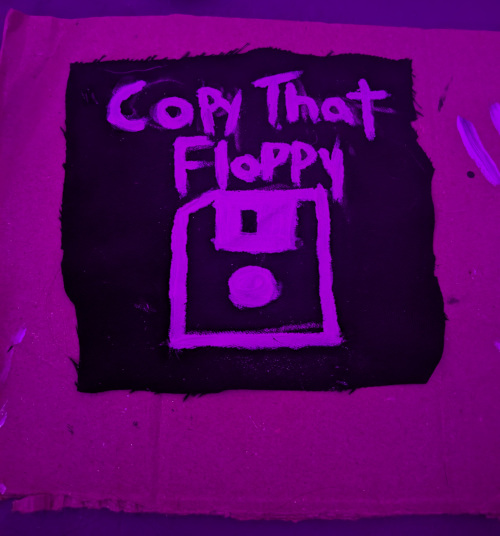
Paint over your design again at least 2 more times so the paint stays bold once it's all dry. You should have at least 3 layers of paint.
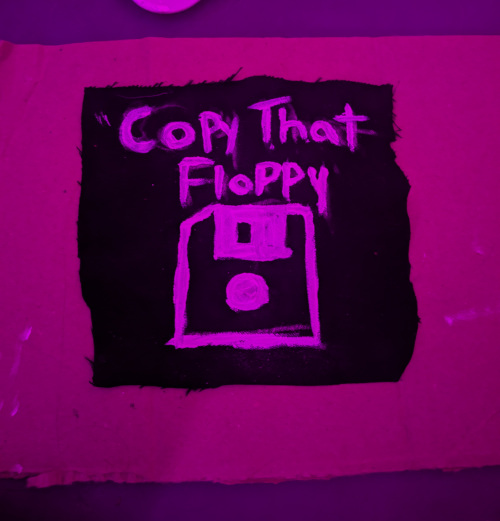
Sometimes I make mistakes and get paint on an area I didn't mean to so I go over those with a black marker, acrylic or permanent markers work.
now you just need to let it dry :) if you have a hair dryer you can use it (make sure it's secured down like last time).
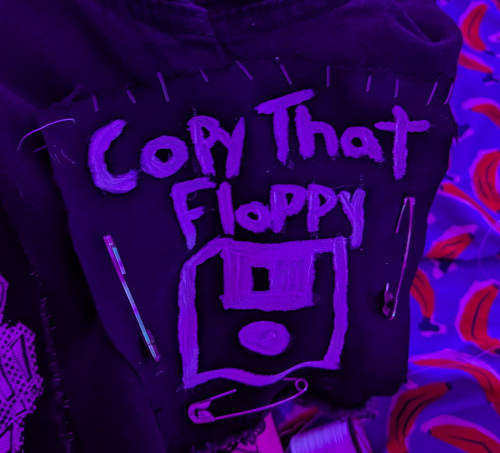
Once it's all dry you can use a wet cloth to remove any of the chalk that's left on there and it's ready to sew onto your clothes!!
So alot of sewing patches are up to personal preference. I'm going to show you how I sew patches but if you don't want to do it this way feel free to do it however you like :)
I'm self taught so I understand if my methods could use some improvement.
I am also away for this style of patches some people use dental floss, I've never really had the chance to experiment with it bc I can just never find unflavored floss. It's usually mint when I look and that artificial mint scent smells skunky to me after a while I don't like it. I also don't know how well it does in the wash.
If you want to try tho feel free :)
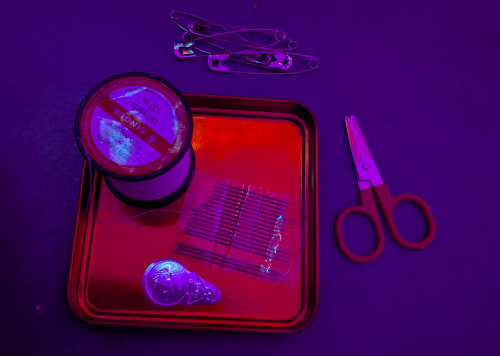
before I start a couple quick tips:
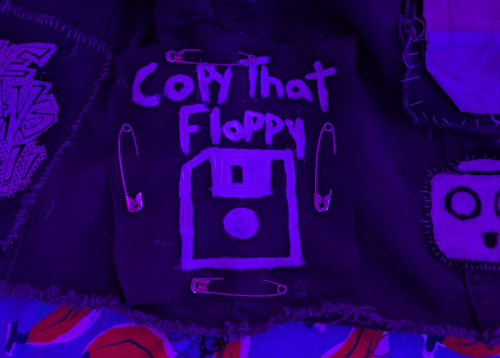
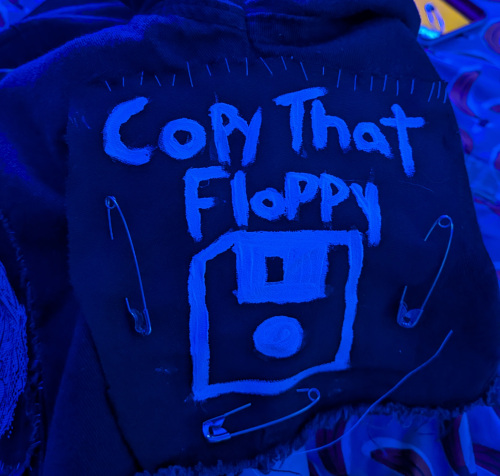
Use safety pins to position and loosely hold your patch onto the clothes
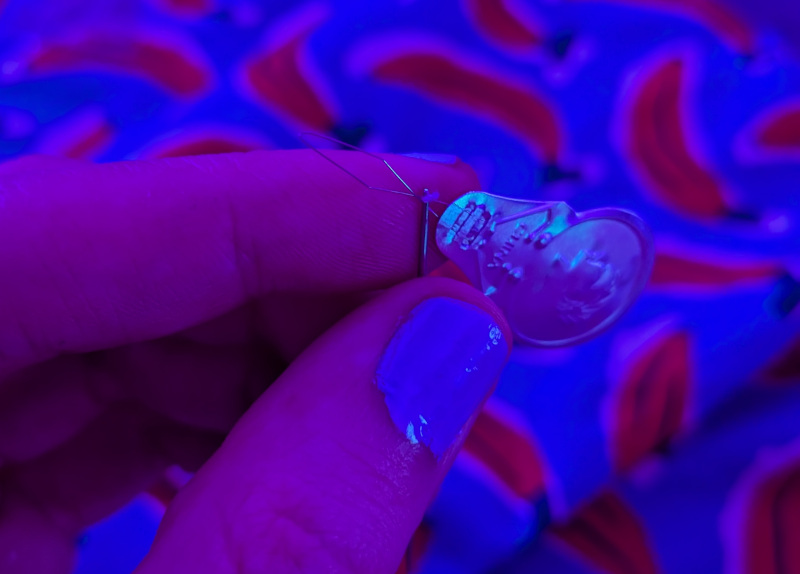
put your needle threader in the eye of the needle and then the thread thru that, pull the threader out of the needle and the thread should've come with it.
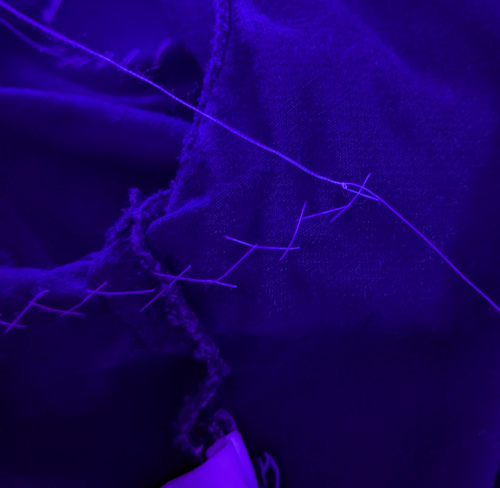
Start from under the clothes and pull the needle thru close to the edge of the patch then bring the needle down thru the patch, and repeat down one side until you get to the end.
You can remove the safety pin now for this side as it's secure enough on it's own
There's some room between stitches here bc we're going to head back the other way repeating the process until you get to the beginning of your stitching
Flip the clothes over and tie both ends of the thread together several times, like 4-5 any less and it might come undone.
There you go one side is done :D
I do it this way bc if the thread breaks or comes undone it's just one side that I have to restitch. I also have better luck with the stitching staying together like this.
That is essentially the whole process, repeat it 3 more times and you're all done sewing!
That's how I do my patches hopefully this helps you make your own and decorate your battle jacket with your own art :)
Now as a bonus here's some tips about caring for these patches.
Depending on the material you use the patch might fray along the edges overtime and washing the clothes it's on might accelerate that.
This isn't really an issue with the polyester and probably won't be a problem if you use denim.
I do machine wash my battle jacket and other clothes with patches. I wash them in the dark load in cold water.
I let them air dry I don't machine wash them.
Acrylic paint doesn't wash off and the fabric thread doesn't usually break in the wash. Of the many years I've washed these clothes it's happened maybe 3 times.
Acrylic markers do come off after a while, it happens slowly enough that I usually just touch them up when they start coming off.
If you've read this then thank you!! I hope this helps you with making your own patches 💜